by King's Nursery | Sep 8, 2019 | Front Page News, General
Ready for picking
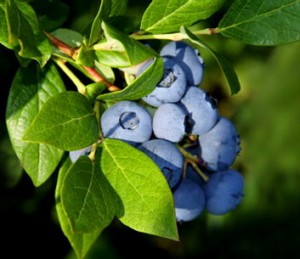
It’s berry time, and we’ve got a nice crop of plants that will be so LOADED with berries next spring that you will barely see the leaves! They will give a harvest that first season and fruit will be produced for months, so they’re gonna give you you’re money’s worth right away.
Why we love blueberries-
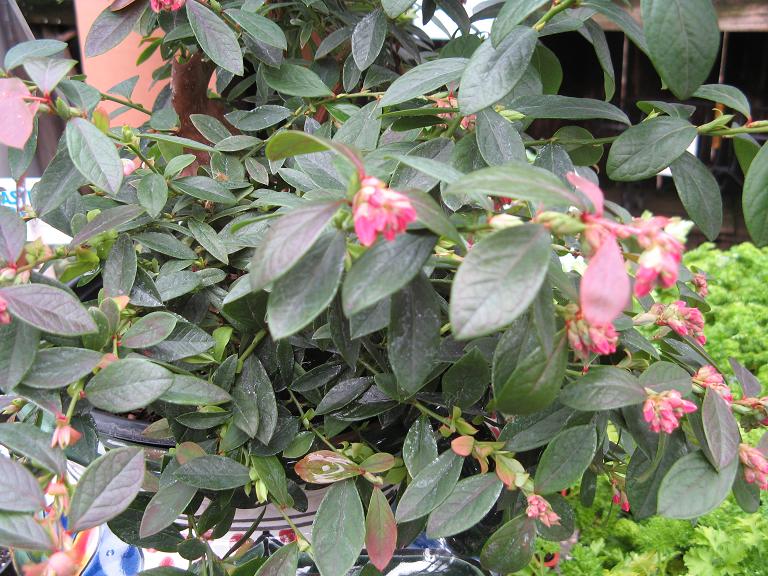
Blueberries are an excellent and permanent addition to edible and ornamental landscapes because, thanks to modern breeding, they are very easy to grow. The handsome plants have dark blue-green foliage and attractive pink or white ‘ bell’ blooms in spring, which turn into yummy blue summer berries.
Some even have great autumn color, with a full spectrum of yellow, orange and red. All can be planted in the veggie garden or used in the landscape. All this and the bonus of luscious fruit loaded with anti-oxidants! Since they are a permanent addition to the garden, the yields of berries increase each year.
Planting
In our fabulous gardening climate, blueberries can be planted most anywhere from full sun to part sun. Just be sure the location gets at least a half a day of good sunlight. Since they are long lived, it is a wise idea to amend the soil properly when planting. A wide, fairly shallow planting hole, backfilled with half Master Nursery Planting Mix and half our native soil along with a dollop of Master Start fertilizer would be great. After planting, mulch with a bit of additional Planting Mix to help with moisture retention. Planting distance can be up to 5 feet apart or as close as 3 feet for a hedge effect. Or, intersperse them throughout the garden. Blueberries easily adapt to containers and to make it even easier, you can use Master Nursery Planting Mix straight from the bag. You could even add flowers and herbs to the container for a beautiful effect.

Blueberries are ornamental, too
Care
It’s so easy! The new blueberries are low maintenance, vigorous plants. They like routine water like your other garden plants and monthly feeding  March through October with our Camellia Azalea food or our veggie food. Your berries will produce more and bigger fruit with a bit of winter pruning. First remove any dead wood, then thin out about a third of what remains. As the plant grows older, you can select six or so main erect branches to form its permanent structure.
Selection
We select and prefer the southern highbush varieties as they are particularly suitable for our Sonoma County climate. They love the warm days as well as the cool ones and thrive in our mild winters. Three plants are about the minimum for a family but there are, of course, no limits. Blueberries are self pollinating. So, if you remember 7th grade science, that means you only need one plant to get some fruit. However, the more the merrier in the world of the birds and bees. In fact, the fruit will be much more prolific if you plant two or more varieties. Also, by mixing varieties you can easily extend your harvest. Some of our favorites (but we love them all)…
Jubilee: Fruits early, nice and upright
Misty: Fruits very early with lots of berries
O’Neal: Another very early variety
Sharpblue: Fruits early to mid season and great to extend the season. Fast grower with big berries.
Star: Fruits early with large berries
Sunshine Blue: Mid season, a more compact plant and evergreen.
Plus others, of course, and please feel free to ask us any questions about blueberries or other parts of your garden. At least in the garden, we want you happy, healthy and successful.
by King's Nursery | Sep 2, 2019 | General, How-to Info

At Kings we just love sweet peas mostly because they do a bunch of things. They are reasonably easy, they grow during the cooler months, they can climb or ramble, they are very cut-able and they smell wonderful. Here are a few tips on sweet peas so you can have fun and success.
When to plant: As mentioned, Sweet Peas like the weather on the cool side, on the other hand, they need a bit of warmth to germinate and eventually bloom. In Sonoma County you may direct seed into the prepared soil in August, September and October. This gives the plants time to sprout before it gets cold. Normal frosts will not kill the plants. Indeed, during the cool winter, the roots continue to grow providing strength in very early Spring. If you have missed the direct seeding time, you may start them indoors and plant them outside anytime during the Winter and all the way through early Spring.
Location: Full Sun to no less than half a day of full sun.
Germination: Most folks find this pretty easy. In the ground, care should be taken to prepare the soil deeply, to about 12” or more if you are energetic. After working the soil, add Master Nursery Pay Dirt and Master Start and work again. Water so the soil is moist, not soggy and plant the seeds about an inch deep.
Keep evenly moist, but not soggy. Over watering can rot them. Another method would be to prepare the bed early and plant the seeds right when the Winter rains are starting. For indoors we use Master Nursery Potting soil right out of the bag, filling a six pack, small pots or greenhouse/flat kits designed for starting seeds. Again the seed is placed about an inch deep and watered several times thoroughly. Water thoroughly again when it is dry. There is no need for daily water, only when necessary. Germination can happen as soon as 7 days. Once sprouted, put them in a sunny location until the sprouts are a couple of inches tall, then outside to a sheltered spot, then into the garden or containers. Some folks soak the seed overnight before planting, we find that this is generally not necessary.
Growing: Most sweet peas need a structure. The exceptions are dwarf and knee high varieties, which can be grown with or without support and even in hanging baskets and on the sides of containers if you do not mind the sprawling look. Your structure can be as plain or as fancy as you like, but please make it sturdy and a bit bigger than you think that it ought to be. We have used bamboo hoops for smaller varieties, or redwood stakes for full sized ones. We have also attached a trellis to a large container with great success. Whatever the method you choose, remember that when the young peas reach out for support, they will need to be gently tied, especially at first and in a timely manner. As the stems age they can become a bit brittle, making the job difficult. We find that once they are started out on the right track they keep on track fine just by themselves. Spacing for new plants should be about 6 to 8 inches apart in your prepared soil. Please remember to work the soil. Your ultimate results are always tied to the soil. Subsequent feeding can be any complete food. We recommend slow release Osmocote or Master Nursery Multi Purpose. Whichever you choose, please do it. Those nasty snails can be a problem when your plants are young and defenseless. Put down plenty of Sluggo Plus to make sure all the crawling critters stay away.
Other Stuff: Keep the flowers cut. This is important and fun. Sweet peas are cool season annuals and will produce armloads of flowers if you cut the spent ones off as soon as they start to drop petals. This will provide you with non-stop bouquets with room-filling fragrance, and will bloom for weeks and weeks. As the weather warms in Spring, please water your peas consistently as this will also increase length of bloom.
by King's Nursery | Sep 2, 2019 | Front Page News, General
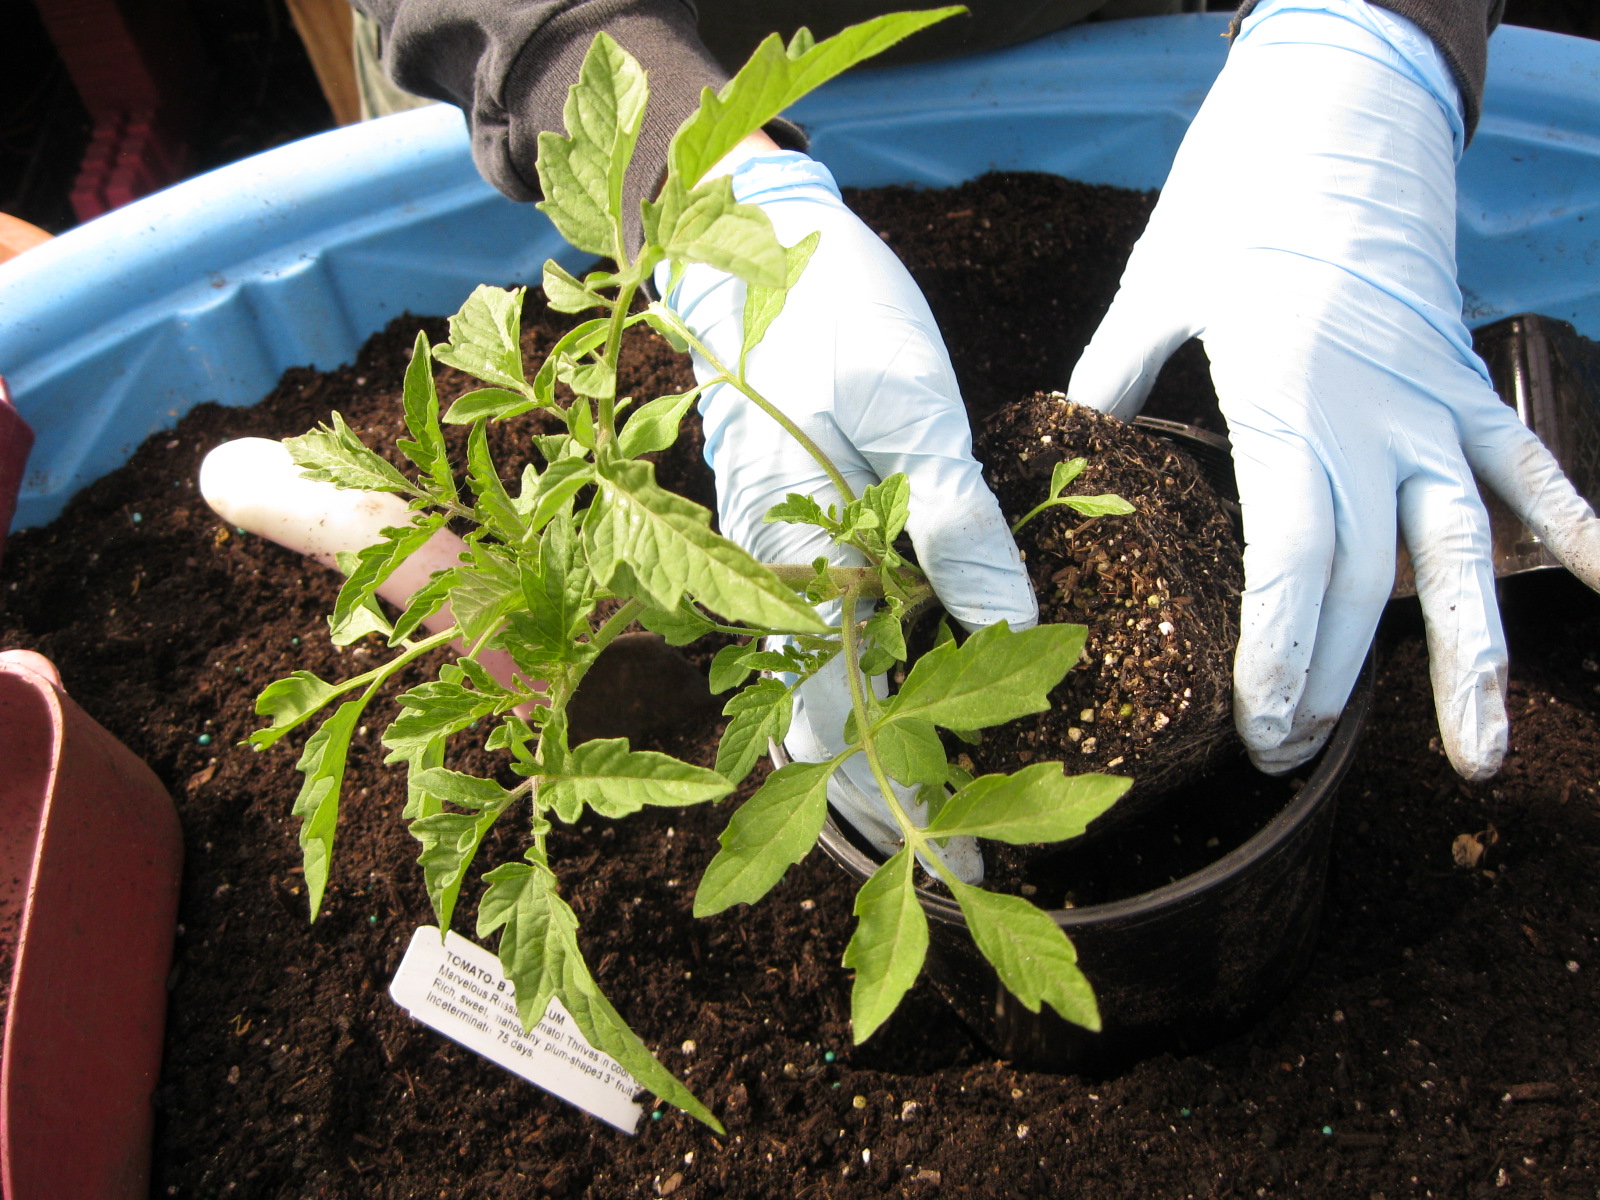
 It’s a wonderful, magical time of year- cool season vegetable planting time!
Oh my, veggies and other edibles are certainly the thing right now. People really want to grow their own food, and they’re so excited to plant anything and everything……
Thinking of growing cool season vegetable plants, from seed or starts? We carry both! High quality seeds that are guaranteed to grow, and eager young starter plants that are locally grown. Yes! And food can be grown year-round here in Sonoma County, and you can even incorporate edibles into your ornamental landscape (this trend is called ‘ornamedibles’)
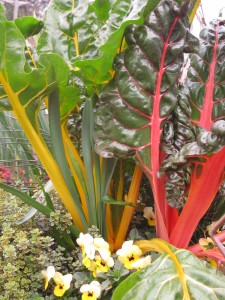 Since more gardeners have decided they like heirloom and unusual veggies and herbs, we like to offer cool season stuff you don’t see anywhere else, like ‘Cheddar’ cauliflower, purple broccoli, or kallettes.
Some folks are devoted to reliable stalwarts in the veggie garden. If you are the type who relies on the tried and true, you’ll find the great fall and winter classics here- ‘Snowball’ cauliflower, romaine lettuce, sugar snap peas, etc.
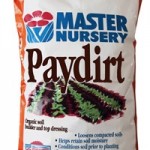
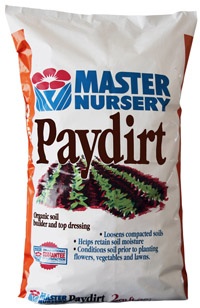
It’s wise to add compost and get the soil ready to embrace the new additions you’ll soon be tending. We LOVE Paydirt, a stinky organic compost made from chicken manure and mushroom compost. An easy way to add this in is to put a 3-6″ layer over your plot, then rototill as usual. Or, if your not tilling, just ‘double dig’ the compost into each planting hole, leaving the rest of the compost layer undisturbed; it will act as a mulch, keeping weeds out and moisture in (every bit counts!)
Feed Me!
Did you know how much of a difference it makes when you fertilize your veggie garden? If you want the most produce you can grow, throw out some granular veggie food, like Master Nursery Tomato vegetable food or E.B.Stone organic tomato vegetable food. I noticed a big increase in the amounts that were harvested through the season when I fertilized once a month, and it hardly took any time at all. I just scattered the food around the root zone of all my herbs and veggies, then watered it in- done!
Until recently, eliminating slugs and snails from my tender seedlings would require the application of highly toxic snail bait. Now there’s Sluggo- iron phosphate, which is safe for humans, pets and wildlife. This product is perfect for the veggie garden, it’s organic, and any unconsumed pellets even break down into nutrients that feed your plants. How do they come up with this stuff?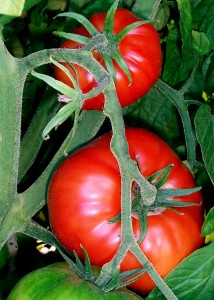
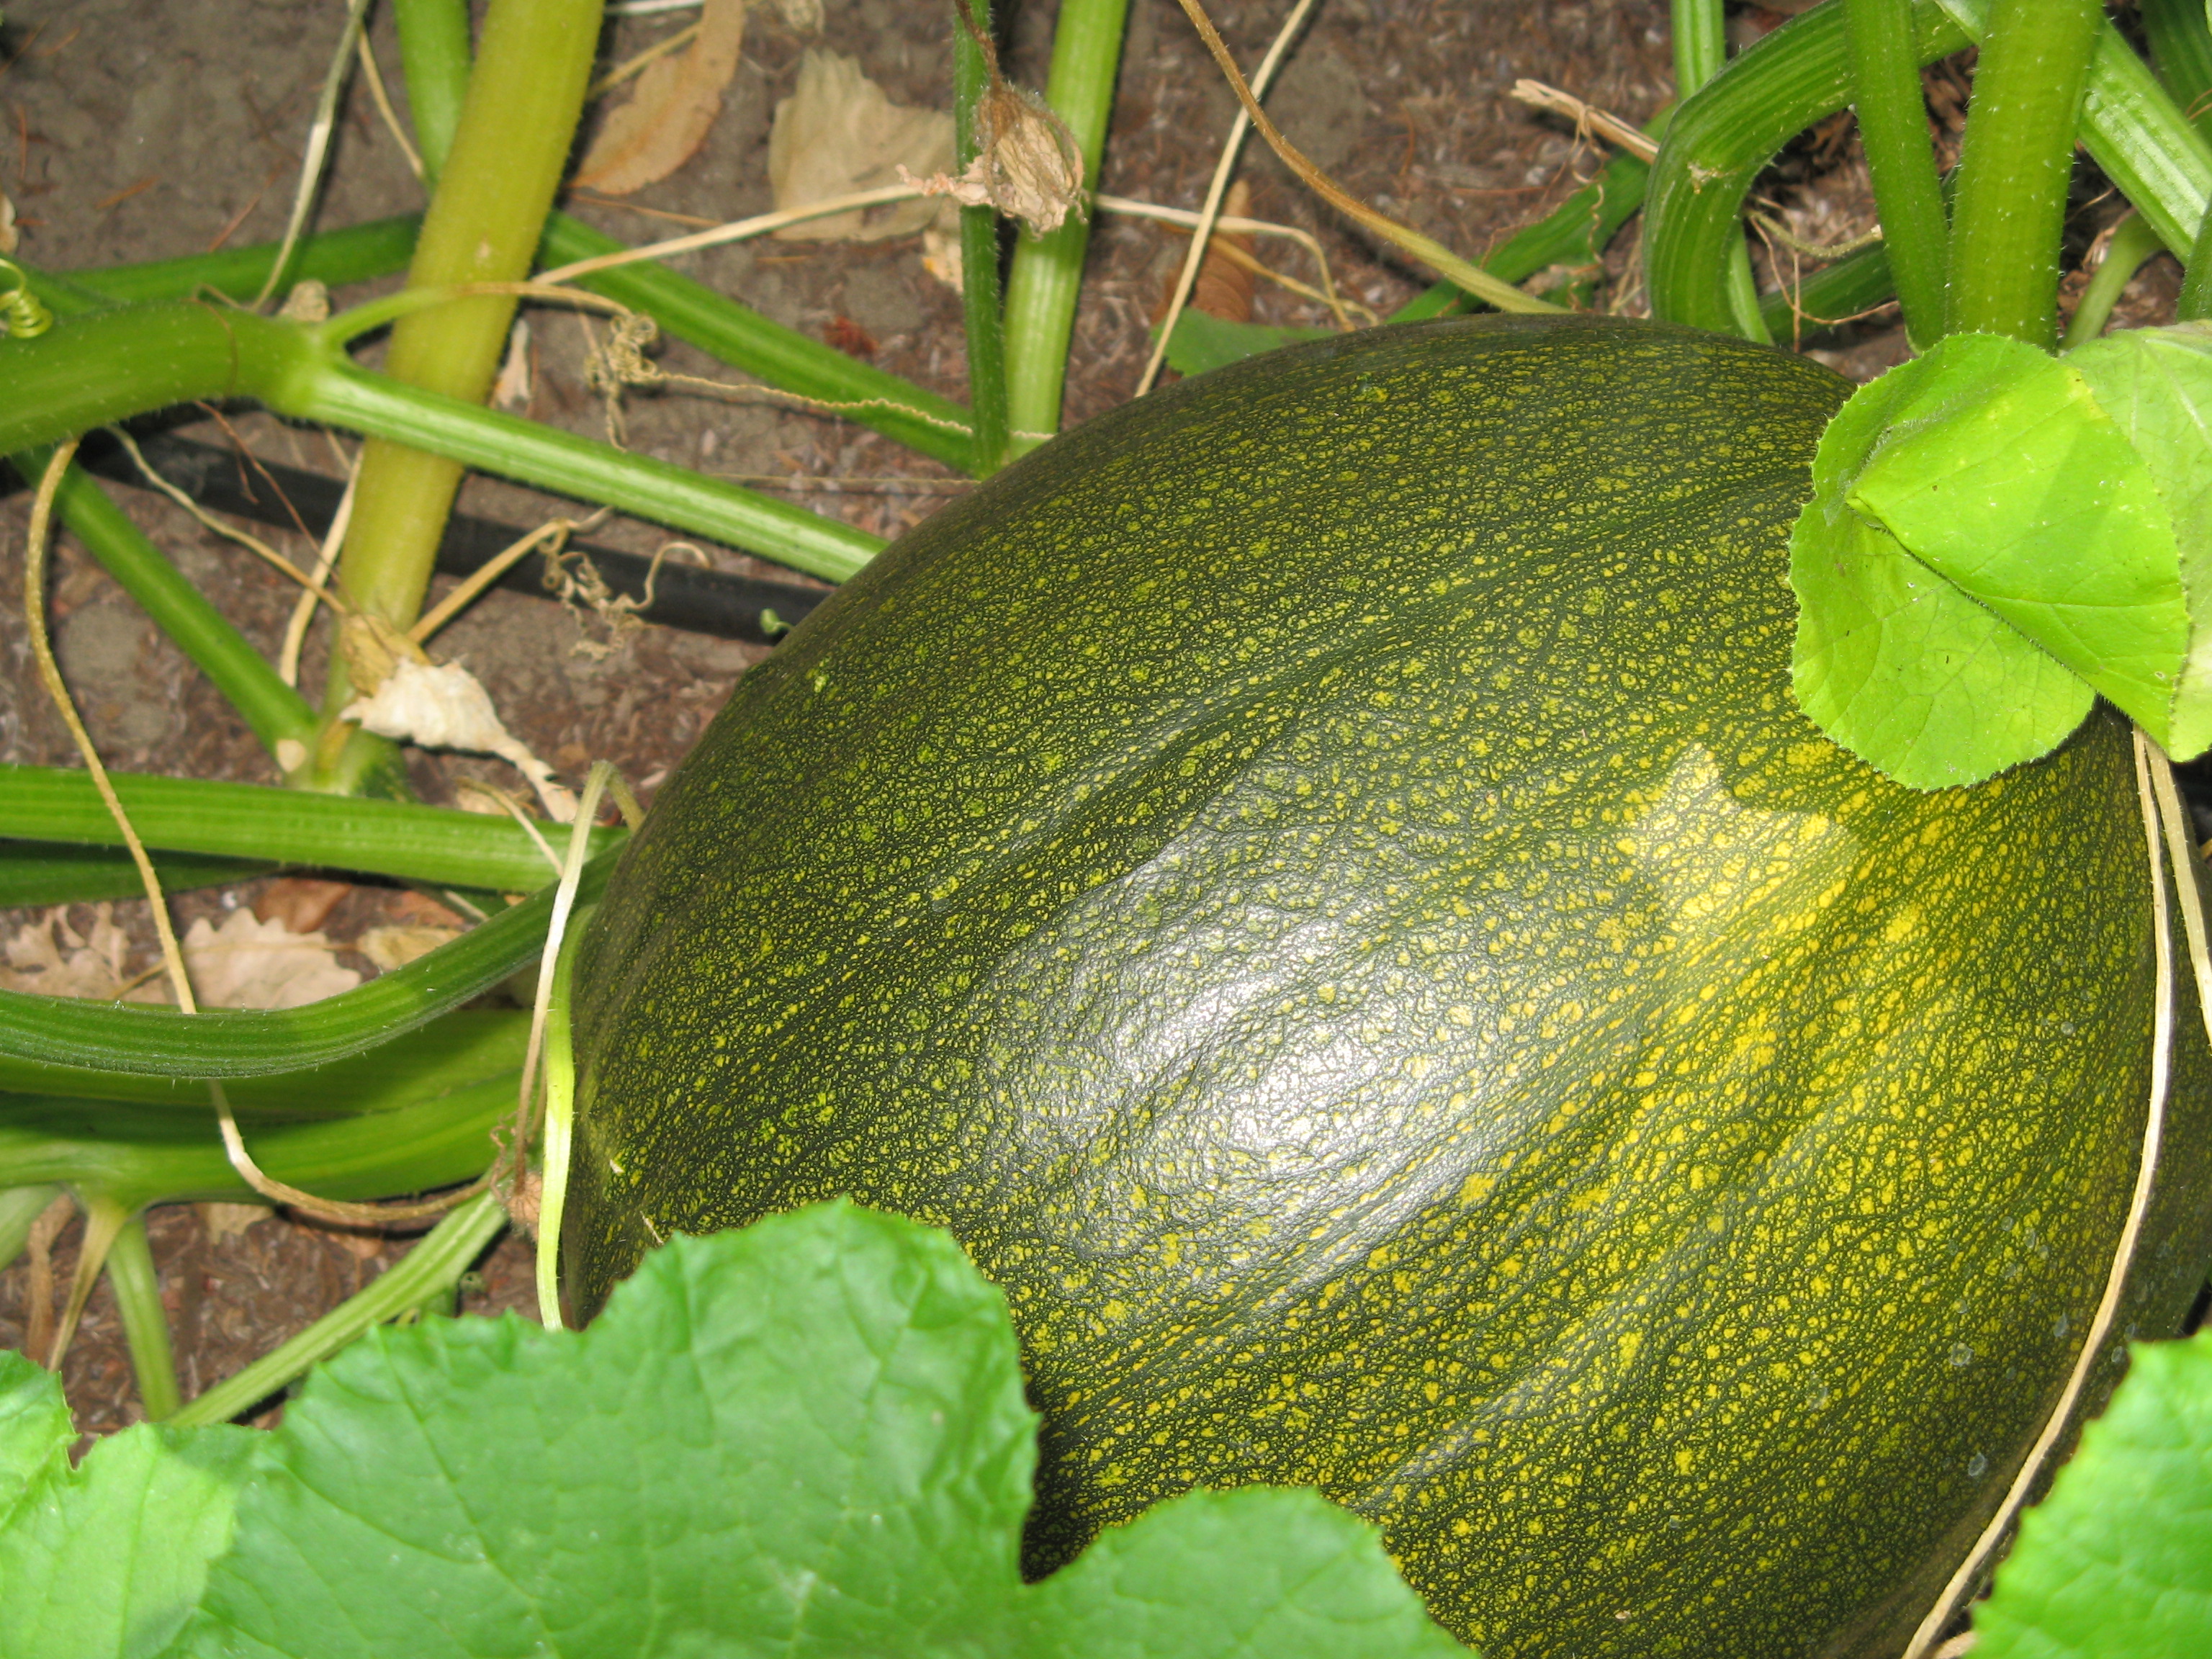
Plant most crops in the full sun, or at least 6 hours of afternoon sun, to get your plants to produce well. Certain types of veggies like as much heat as possible, like peppers and melons, while other things can accept partial sun, like strawberries, lettuces and basil.
Remember, King’s is a great resource to help you along the veggie garden path. We will answer any questions, offer growing tips and advice, demonstrate and explain what you can do to have a successful harvest- just come on in!
by King's Nursery | Sep 1, 2019 | General
Don’t miss out on planting sweetpeas! Get the best results by putting them in now, either started in the ground or in containers from seed or plants that have already sprouted from the nursery.
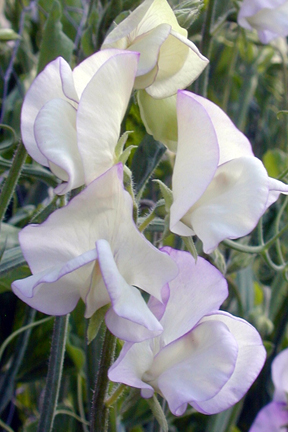
‘April in Paris’
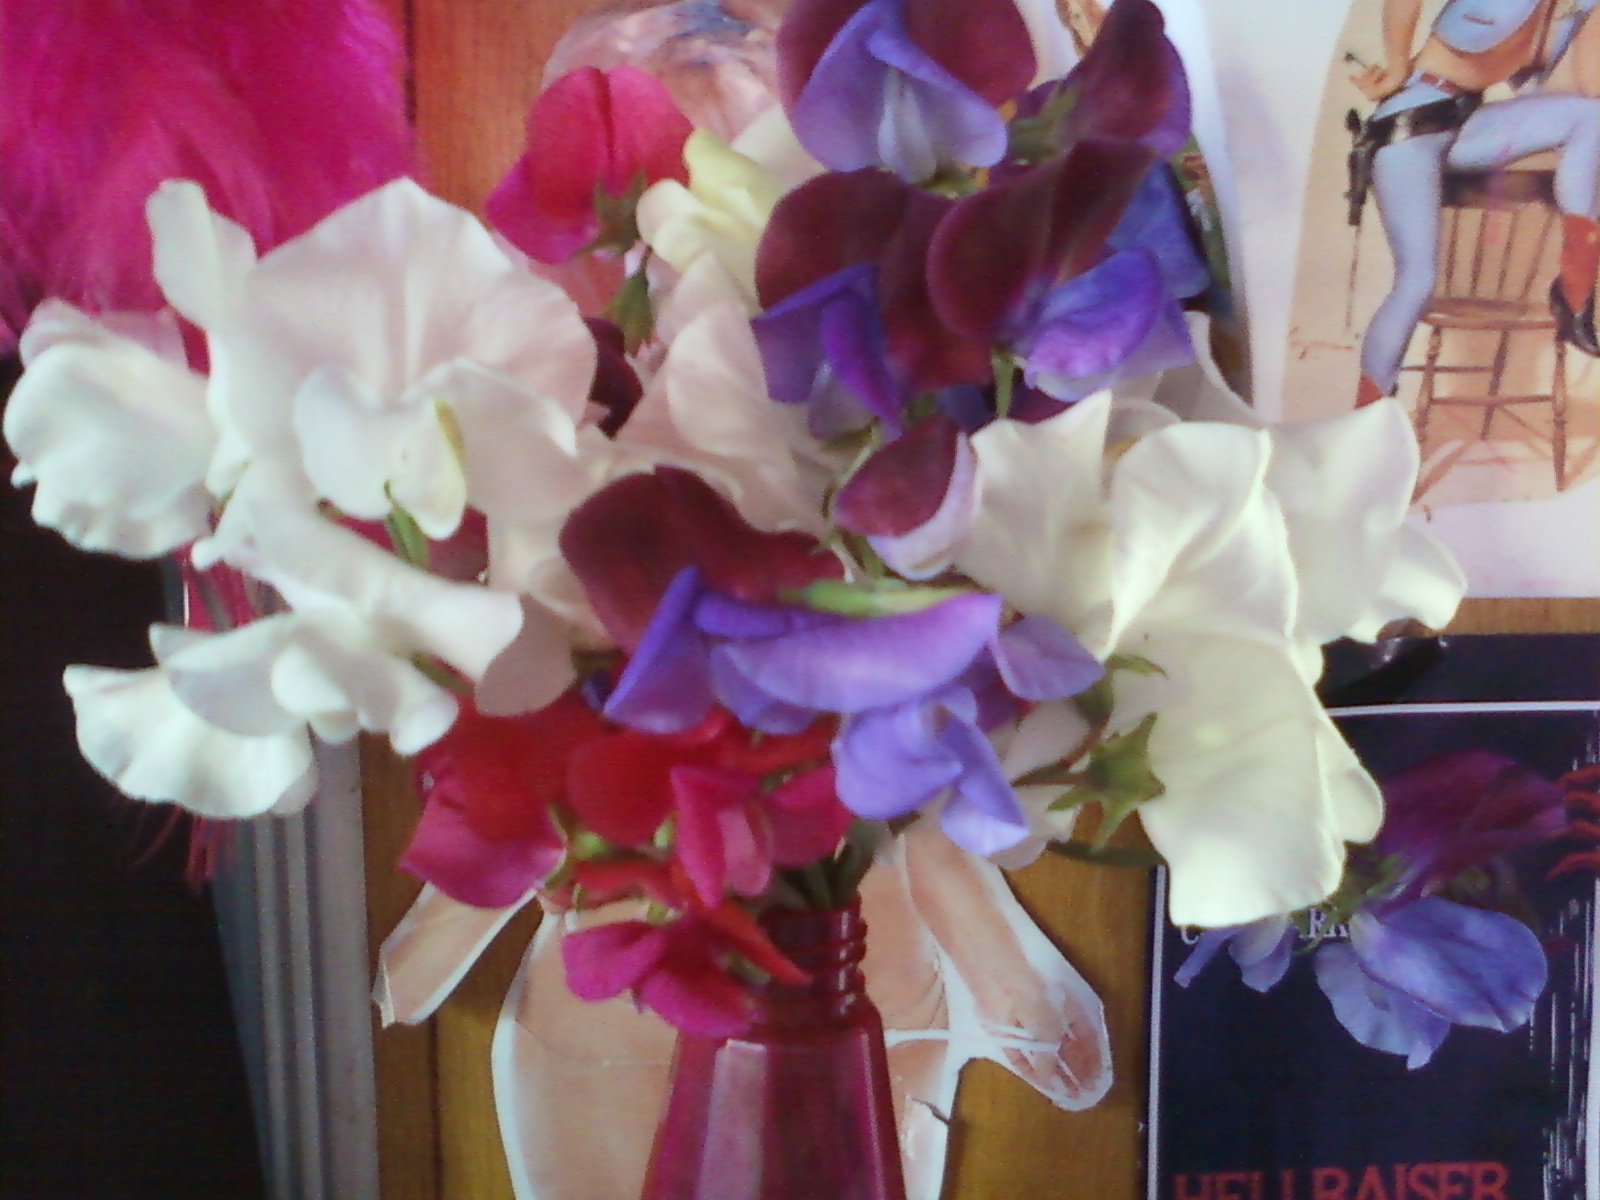
Oh, to write a proper ode to these frilly, girly, intoxicatingly fragrant flowers…..
Spencer English is by far my favorite kind. The flowers are sizable, with nice long stems for cutting, and come in so many colors and combinations- dark jewel tones, pastels, bicolor, picotee, stippled. All have amazing fragrance; nothing smells quite like ’em!
Heirloom styles, the most scented of all, bring back a lot of my first garden memories. Small, plentiful flowers rambling or climbing through my great-grandmother’s terraced garden, making their way through the cement goldfish pond, down and beyond. We’d pick kid-sized bouquets (that quickly became forgotten in our back pockets).
They are available in different heights and habits, too- get tidy windowbox/border types to fill in a small spot, or the dwarf climbers for a teepee in a pot.

Hand-picked that day
Every year I get the seedlings going in the fall or winter so as to get maximum flower production. Try and make sure you put out some kind of snail protection (snailbait, copper tape, etc.) the same day you plant, because snails and slugs especially love to eat the tender new growth.
We have a nice selection of seeds and young plants right now. The individual 4″ potted starts that we grow exclusively are especially wonderful for achieving specific color schemes. Click on this link to learn more about how to grow them: https://kingsflowernursery.com/sweet-peas/, and you can always come in or give us a call if you have any questions.
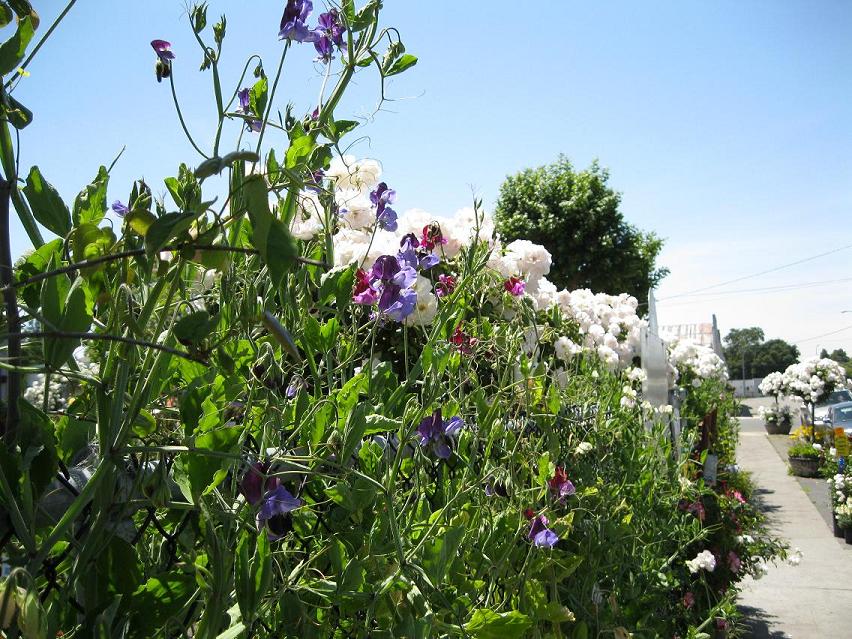
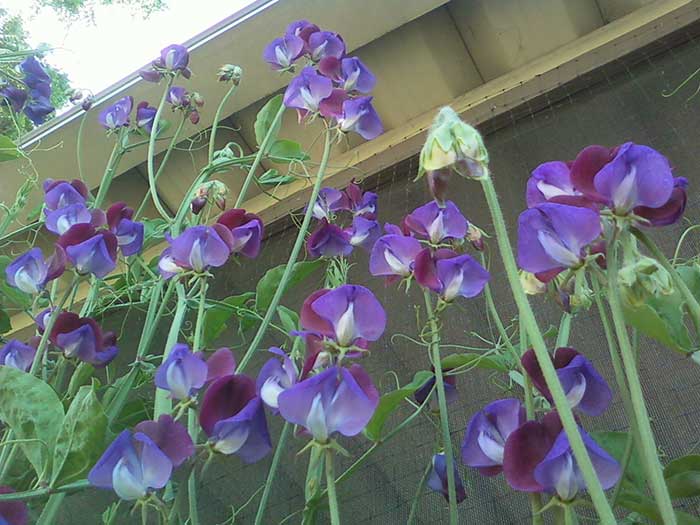
Our front fence last spring
by King's Nursery | Nov 14, 2017 | General


 March through October with our Camellia Azalea food or our veggie food. Your berries will produce more and bigger fruit with a bit of winter pruning. First remove any dead wood, then thin out about a third of what remains. As the plant grows older, you can select six or so main erect branches to form its permanent structure.